Installing a Graph Tech "Ghost" piezo in a Gibson 335
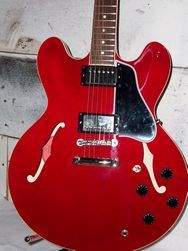
I got a call from Jerad Finck, a singer songwriter based here in Spokane, WA. He had recently become a Gibson endorser and they sent him a beautiful Custom Shop ES 335 (BTW the ES stands for Electric Spanish). He wanted a piezo system installed that would sound enough like an acoustic to allow him to not switch guitars during a show but it also needed to be bullet proof enough to withstand touring. On top of that we agreed that no new holes for switches or knobs should be drilled in the guitar just in case he didn't like the piezo and wanted to go back to stock.
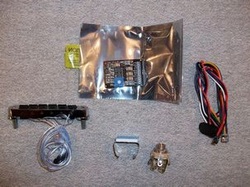
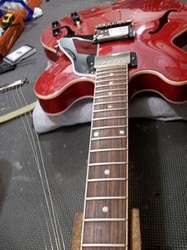
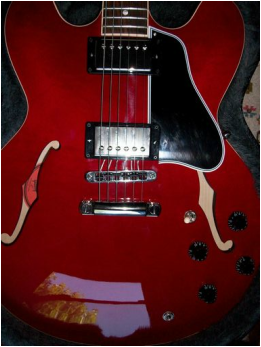
Here's a picture of the stock guitar and the Ghost piezo system to be installed.
First I had to get the strings out of the way. Normally I would just remove the strings and install a new set but Jerad had just installed these so I just loosened them up and removed the tailpiece. To help keep the strings straight, I take some velcro strips and "sandwich" the strings between them. I put one up near the nut and one near the bridge and this will keep the strings from getting tangled up and unusable, saving my customer some money.
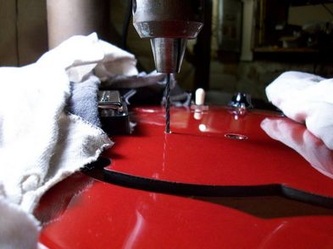
Next I had to drill new stud insert holes for the new bridge. This was the only modification to the guitar and should not affect the value at all, in fact Resomax bridges are generally considered an upgrade to most guitars.
Next I had to drill new stud insert holes for the new bridge. This was the only modification to the guitar and should not affect the value at all, in fact Resomax bridges are generally considered an upgrade to most guitars.
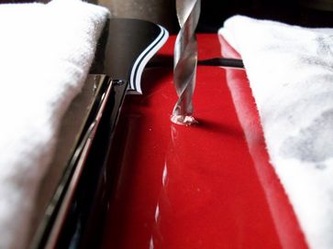
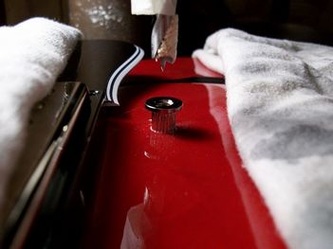
To make sure the new bigger hole would be perfectly centered on the old smaller hole I took a drill bit that matched the original hole and made sure it was centered. Then I installed the bigger bit for the new inserts and drilled to the desired depth. Hint: to avoid chipping the paint turn the drill bit by hand in reverse with just enough pressure to scrape off the paint, then drill as normal. Always use sharp, good quality bits.
Then I checked the fit and pressed in the stud inserts.
Then I checked the fit and pressed in the stud inserts.
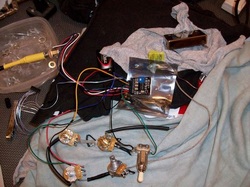
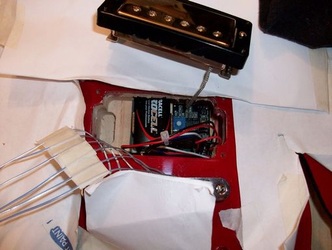
Okay all the wiring is done and tested now I just have to put it all back in. Uhhh............has anyone seen the guitar?
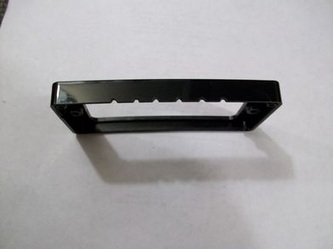
I notched the pickup ring to allow the wires from the bridge to feed into the pickup cavity without getting smooshed.
The battery and preamp are right under the bridge pickup for easy battery changes. The battery lasts about 500 hours of playing so it only needs to be changed about every 6 months for a working musician. (insert joke about musicians and work here) :)
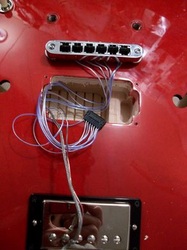
Here she is all buttoned up and ready to go. You can see the individual saddle wires running under the pickup
Here she is all buttoned up and ready to go. You can see the individual saddle wires running under the pickup
And here's Jerad taking her for a test drive. In his words "it sounds freaking awesome"!
You can check Jerad out here: Jerad Finck Music
You can check Jerad out here: Jerad Finck Music
